

![]()
Here are a few of my first attempts at woodcarving. Everything on this page is carved in white pine; it's inexpensive and easy to find.
At the bottom of this page I have a work-in-progress section, check it out to see what's in-the-works.
![]()
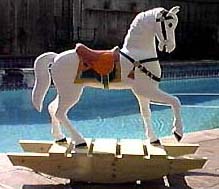
Calla's horse pic1
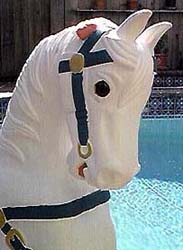

Calla's horse after staining pic1

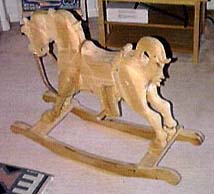
Danielle's horse
![]()
Here is my work-in-progress section, watch this area for occasional updates.
I am carving a 1/3 scale Looff carousel horse c. 1914 the finished product should look like the one pictured at the end of this section (below.)
This style of carousel horse is known as a Jumper (all four legs are off the ground.)
![]()
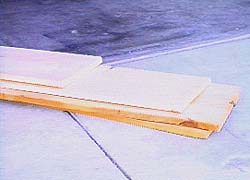
10/1/97: Started with 4ea. 1" X 10" X 12' pine boards.
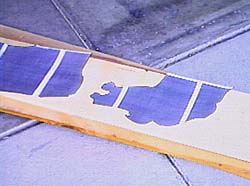
10/1/97: Traced my computer generated patterns (based on finished picture below) onto the boards and glued the different thickness of boards together.
3 boards thick for the legs, tail and left/right body sections, 2 boards thick for the center body section and 5 boards thick for the head (including neck.)
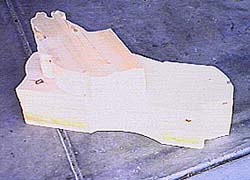
10/4/97: Started cutting the individual pieces out, I only have a few clamps so this process of gluing and cutting out different parts took place over the next few evenings after work.
Shown here are body (all 3 sections glued together) and the head (including neck.)
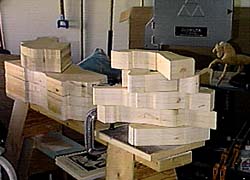
10/11/97: These are all the separate pieces needed to assemble the final horse (excluding the back part of the saddle known as the cantle.)
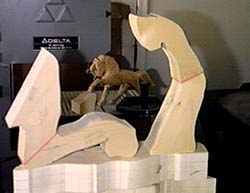
10/12/97: 3 of the legs are built from 2 separate pieces so that the grain runs in the proper direction for strength (red lines show seam.)
These are then glued together with dowels (again for added strength.)
The fourth leg (right rear) is straight enough to be a single section (see picture below of the finished horse.)
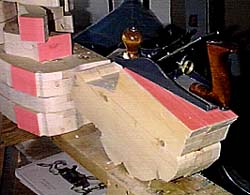
10/15/97: Here the surfaces that will later be joined are plained as flat as possible by hand.
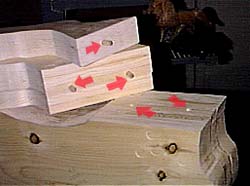
10/15/97: Holes are drilled and fit with dowels so individual parts can be temporary assembled and checked during the carving process.
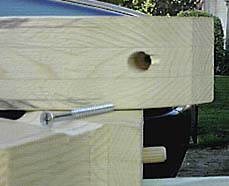
10/17/97: Holes are then drilled and countersunk allowing screws to secure the various limbs, head and tail to the body, holding them tightly in place.
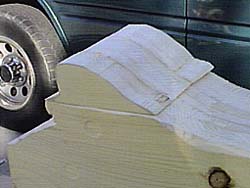
10/18/97: The Cantle (rear part of the saddle) is cut from scraps of wood and glued in place.
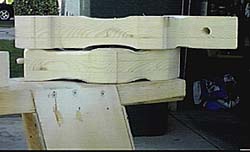
10/18/97: Simple shaping is started by making shallow cuts in the legs.
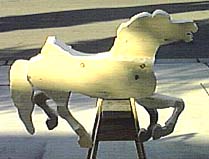
10/18/97: The pieces are test fit together and checked for errors. Check this profile against the finished product below.
Holes need to be drilled for ears and eyes, then the carving begins.
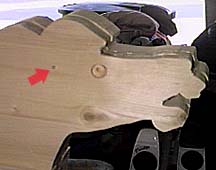
10/19/97: Holes are drilled for eyes and small holes are drilled for ear placement (red arrow.) I will attach ears using 1/4" dowels.
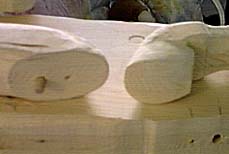
10/25/97: The upper part of the legs are rounded and hoofs are shaped (first pass.)
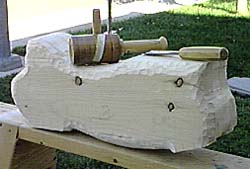
10/26/97: Started rough shaping the body with a shallow gouge being careful not to take too much off at this point.
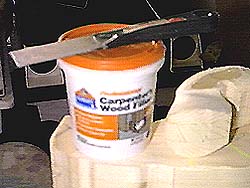
11/2/97: Patched up some of the cracks and open spots with Elmer's wood filler. This needs to dry overnight so I didn't get anything else done this weekend.
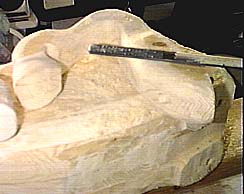
11/7/97: I used my 4-in-hand file (it's four files in one!) to start rounding the front legs.
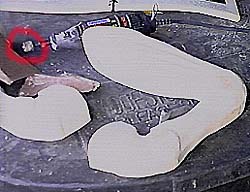
11/9/97: Started putting details like tendons and muscles in with a Dremel using 1/2" sanding drum attachment and coarse 80 grit sandpaper.
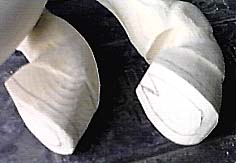
11/9/97: Penciled in horseshoe and frog (V-shaped groove in back of hoof.)
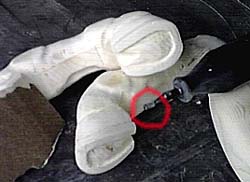
11/9/97: I then detailed the horseshoe and frog with a Dremel using 1/4" cylindrical bit attachment and coarse 80 grit sandpaper.
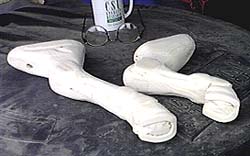
11/16/97: The same process used (above) for detailing of the front legs is used on the back legs (shown here.)
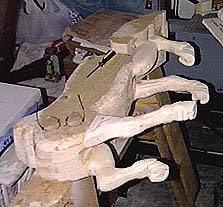
11/16/97: I test fit the legs to the body again to make sure thing are going as planned and I haven't disturbed any of the flat surfaces.
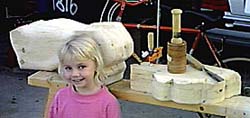
11/23/97: The legs are removed and body (shown behind my daughter Danielle) and neck are further rounded with a shallow gouge in preparation for carving the saddle and trappings (name for other misc. straps and things.)
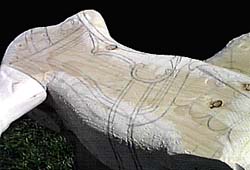
4/18/98: I start by sketching the saddle on the right side of the horse in pencil.
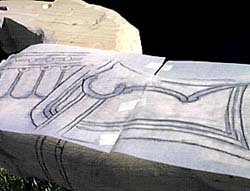
4/18/98: The same design is then transferred to the left side using tracing paper.
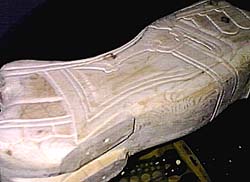
4/18/98: Then the simple relief carving of the saddle begins.
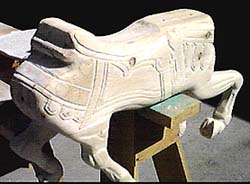
4/19/98: Here I've attached the legs and carved the straps around the chest and rump connecting the carved left and right sides of the straps.
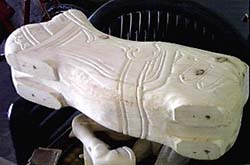
4/19/98: The same is done for the belly strap.
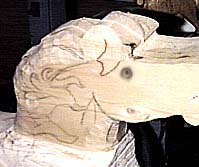
4/22/98: The neck will be carved next. I've penciled in the mane which carries down into the shoulder.
The Mane only gets carved on the right side (it's combed over from left to right.)
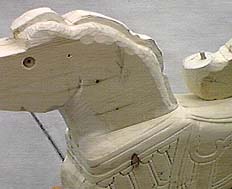
5/6/98: This is what the mane looks like on the left side, as you can see I’ve carved away the back of the head and neck to give it a raised look.
Also the tail (sitting on the horses back) has been rounded a bit on one end.
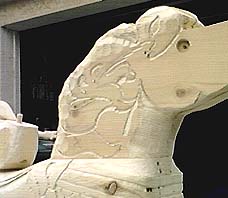
5/6/98: The front of the neck is shaped and blended into the body. then the mane is loosely carved on the right side.
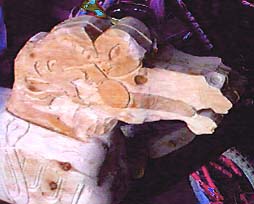
10/10/98: After a long break I started carving the trappings on the head and roughing out the nostrils. I also started tapering the snout and defining the jaw bone.

XX/XX/98: Stay tuned.
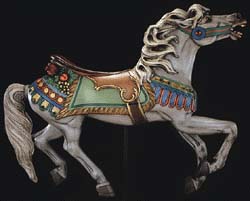
This is what the finished product should look like.
Some related links:
